Master your Glow
by Opalia
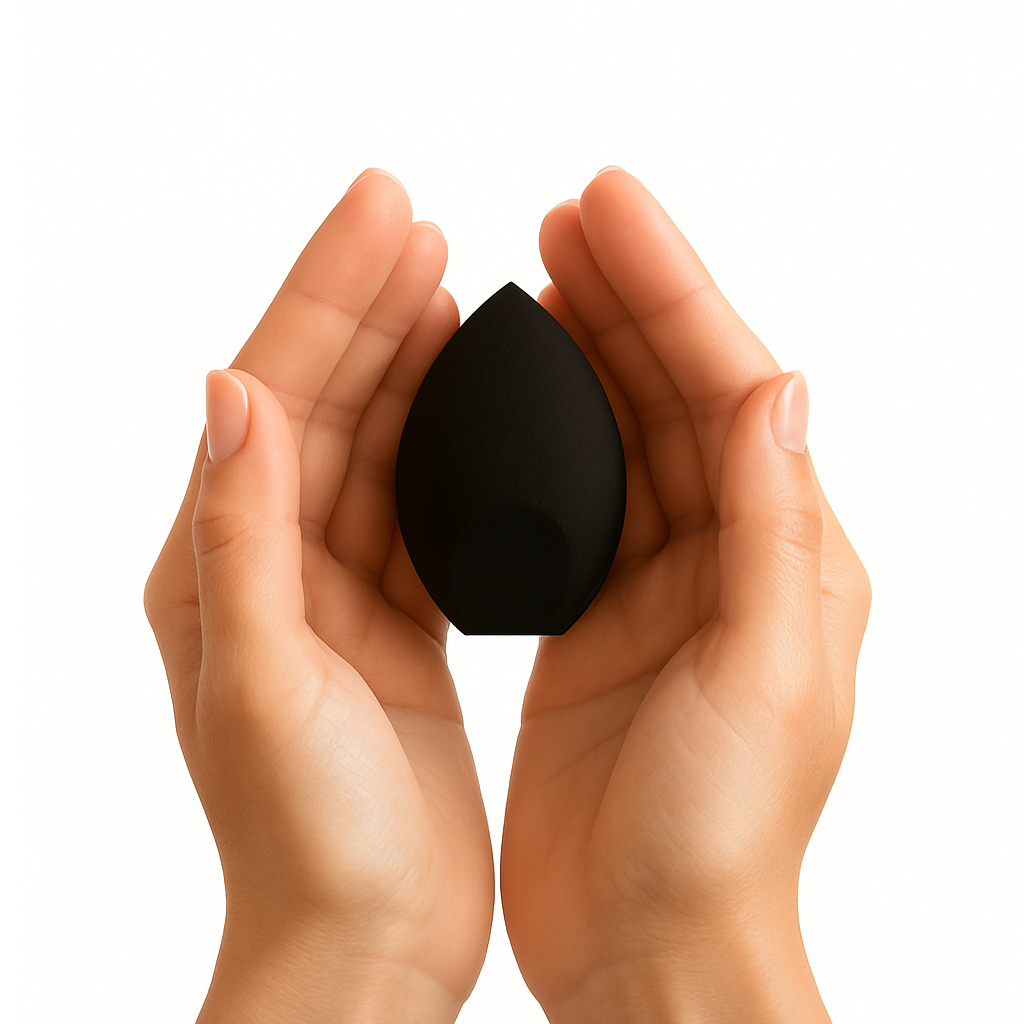
BECAUSE PERFECT SKIN
STARTS IN YOUR HANDS

Flawless results start with proper use and clean tools.
BLEND SMARTER
GLOW BETTER
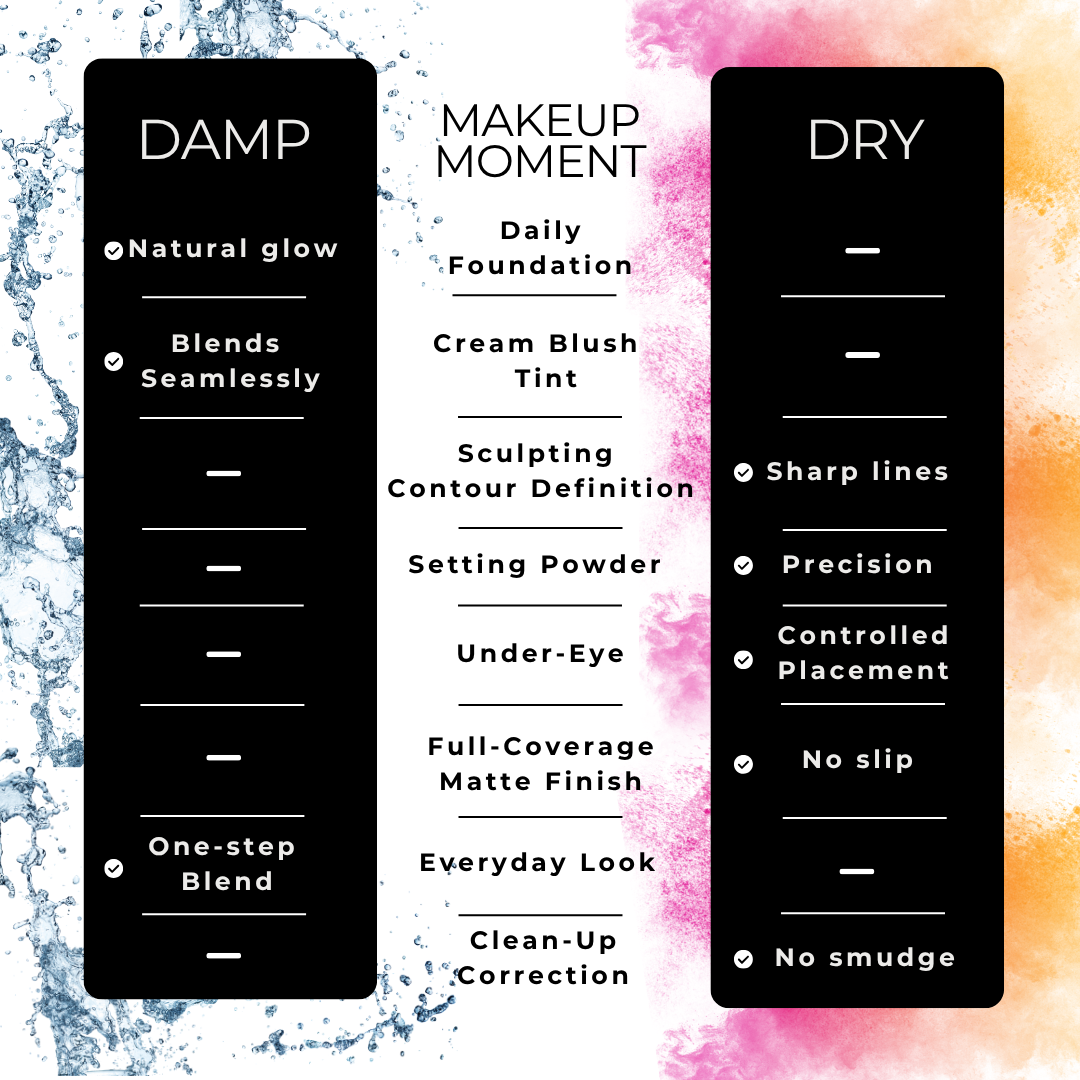
Master the subtle power of damp vs dry application, and unlock your skin’s full potential.
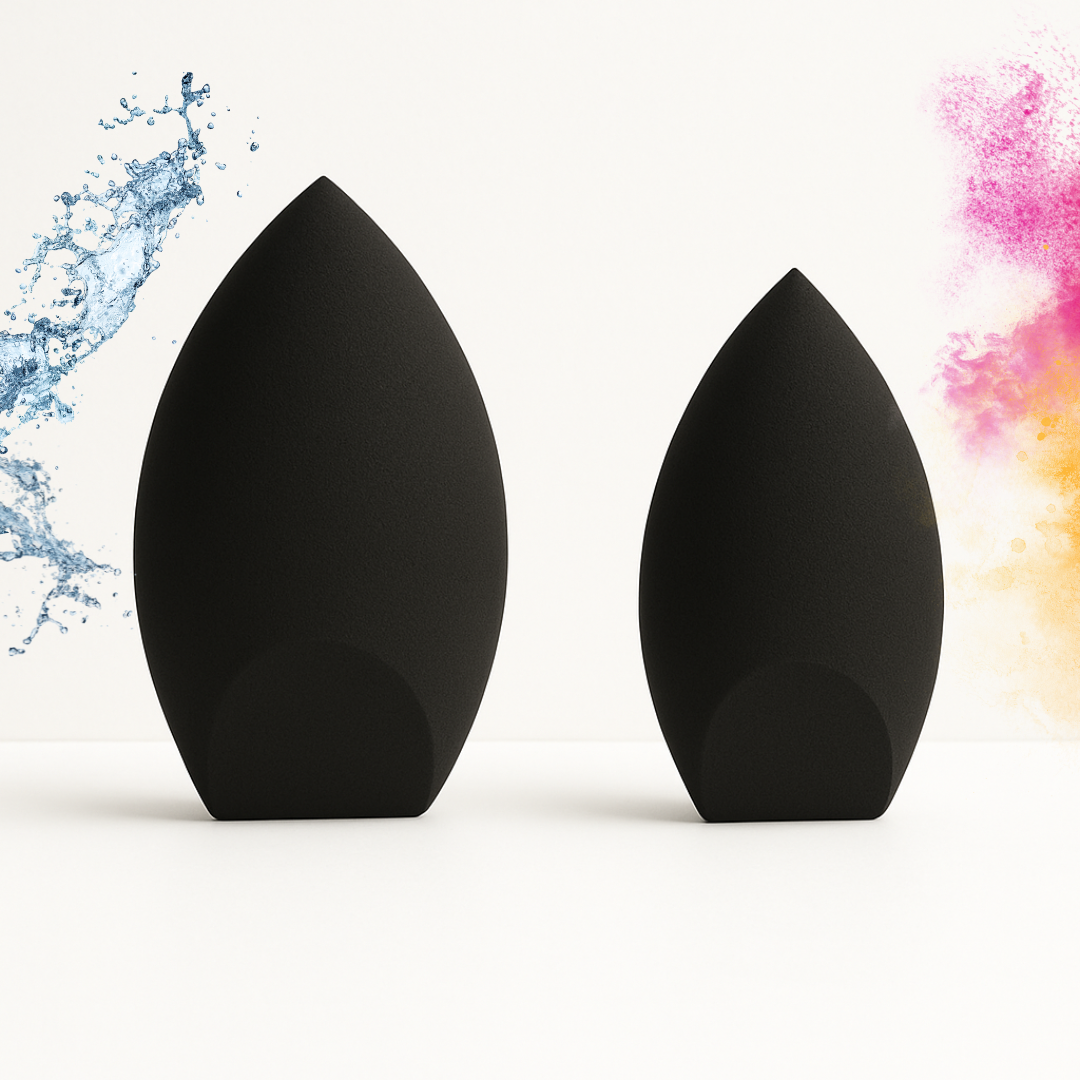
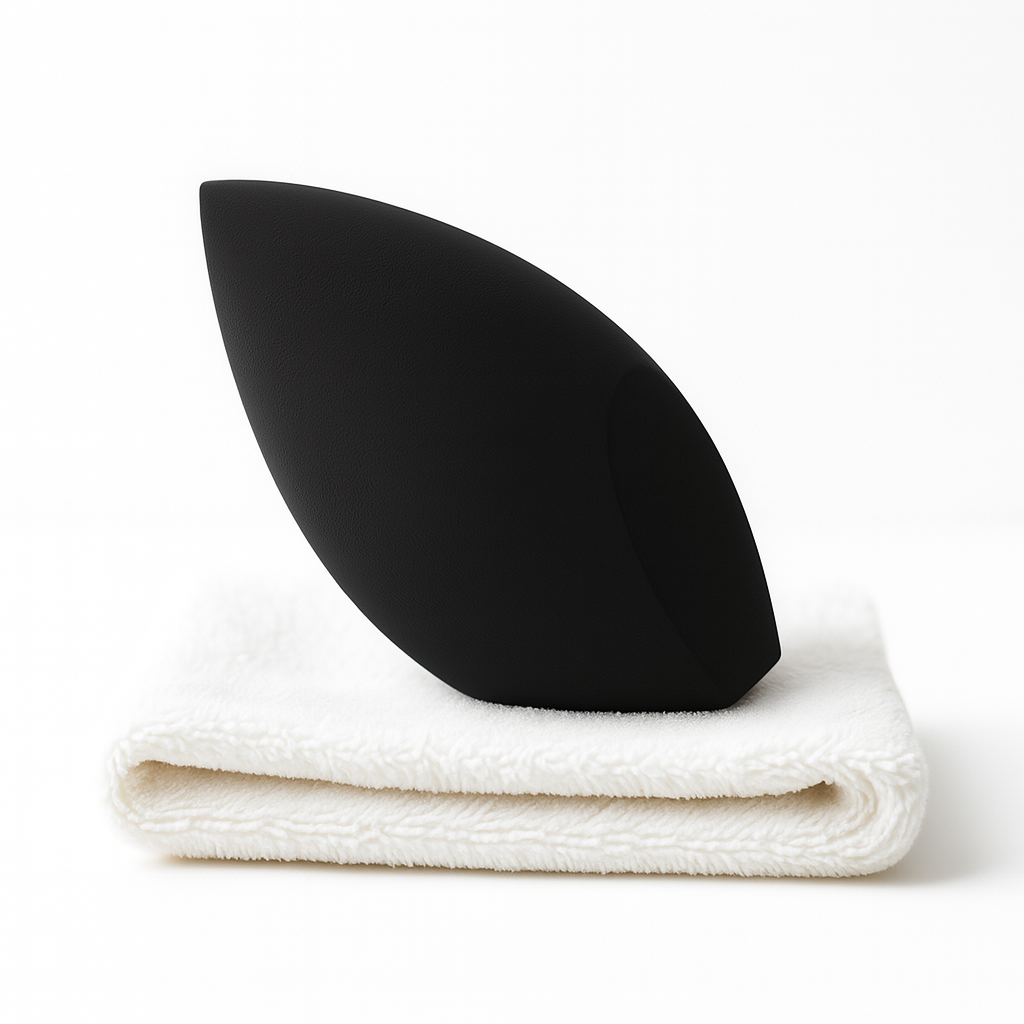
One Sponge. Two Methods.
Infinite Looks.
DAMP for natural finish.
Think of a damp sponge as your skin’s best friend.
It diffuses product into a seamless, second-skin glow, no streaks, no heaviness. Just bounce, blend, and radiate.
How to use it:
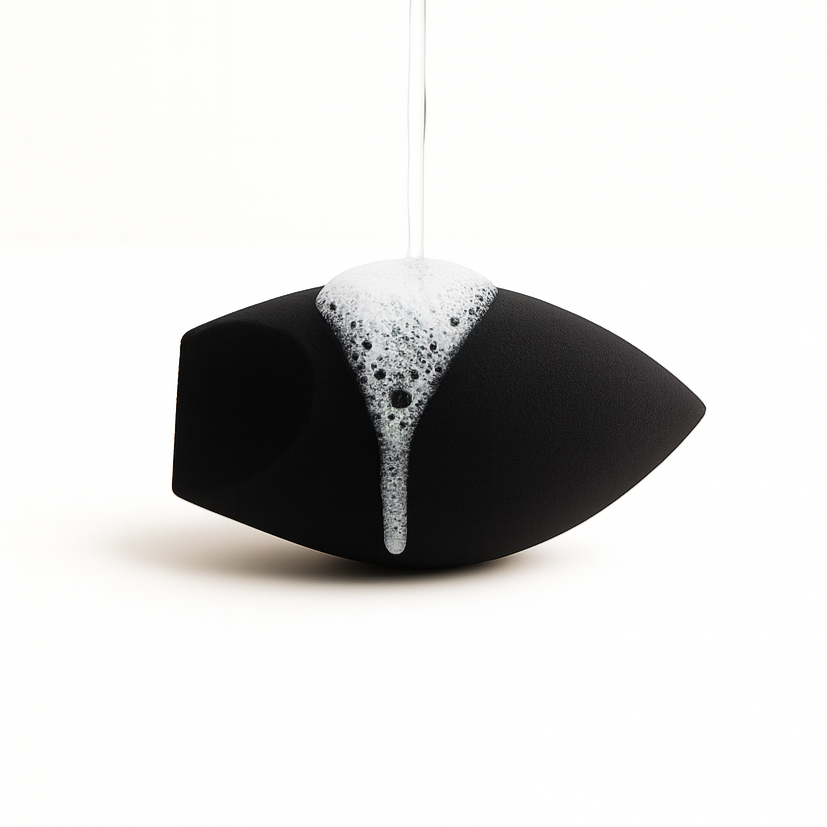
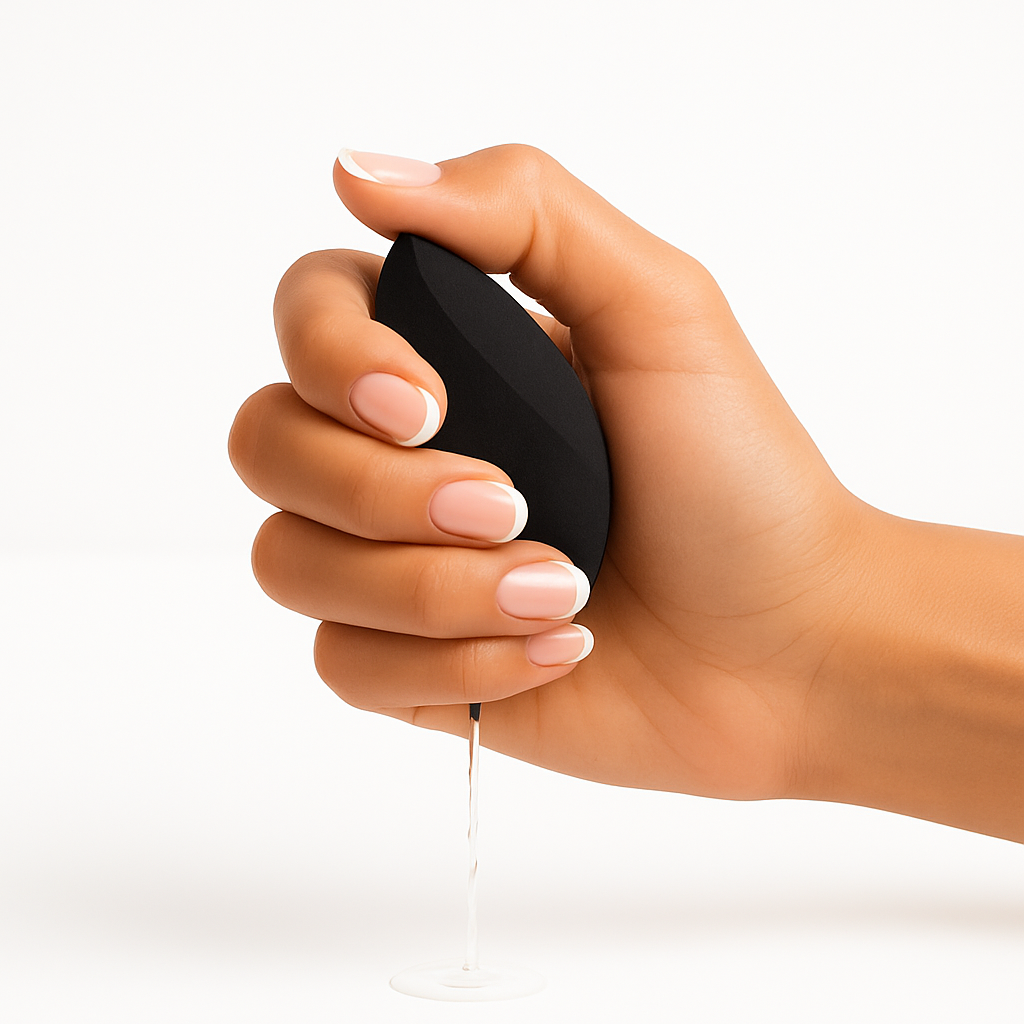
Wet the sponge, squeeze out excess, then bounce gently to melt foundation or cream blush into the skin.
Pro Tip:
Squeeze until it’s just barely damp, too much water will dilute your product.
-
DRY for precision & coverage.
A dry sponge is your secret weapon for sharp lines, sculpted edges, and full-coverage looks.
Use it for baking, setting, or detail work where precision matters most.
How to use it:
Keep the sponge dry to press powder into place, define contours, or touch up under eyes.
Pro Tip:
Use the flat edge or pointed tip to sharpen jawlines or clean up eyeshadow fallout, no smudging.
-
DAMP for natural finish.
Think of a damp sponge as your skin’s best friend.
It diffuses product into a seamless, second-skin glow, no streaks, no heaviness. Just bounce, blend, and radiate.
How to use it:
Wet the sponge, squeeze out excess, then bounce gently to melt foundation or cream blush into the skin.
Pro Tip:
Squeeze until it’s just barely damp, too much water will dilute your product.
-
DRY for precision & coverage.
A dry sponge is your secret weapon for sharp lines, sculpted edges, and full-coverage looks.
Use it for baking, setting, or detail work where precision matters most.
How to use it:
Keep the sponge dry to press powder into place, define contours, or touch up under eyes.
Pro Tip:
Use the flat edge or pointed tip to sharpen jawlines or clean up eyeshadow fallout, no smudging.
-
Get the look you love every single time
CARE FOR YOUR TOOLS
CARE FOR YOUR SKIN
Protect your glow and your skin,
with this 3 step care ritual.
The problem?
Most sponges don’t blend well
Or never worked to perform
MAYBE IT WAS NEVER
YOUR MAKEUP

If your foundation looks patchy, uneven, or disappears by noon…
Your Blender Has Expired
YOUR SKIN DESERVES
AN UPGRADE
We didn’t add options We removed the noise and perfected one
Just one blender that does it all.

based on 1 067 reviews
BEAUTY FOR YOUR SKIN
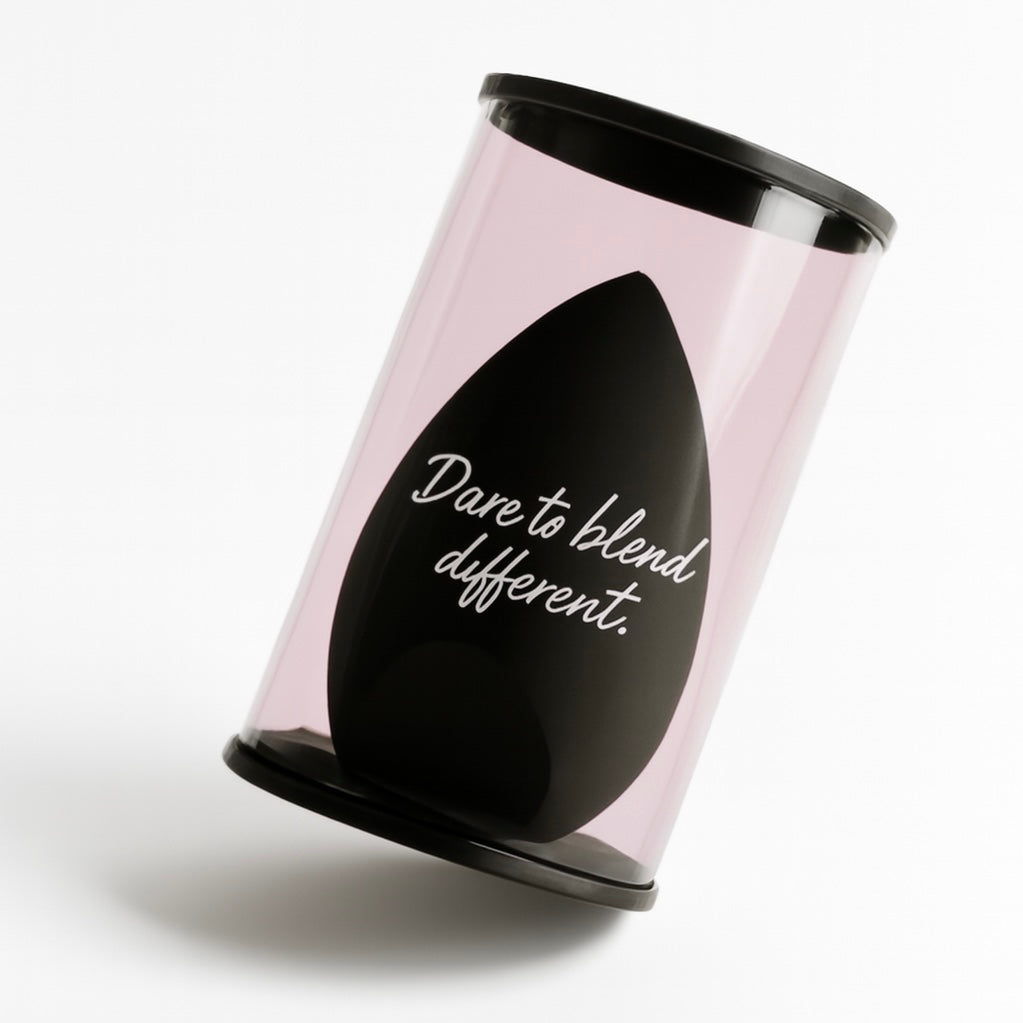
We didn’t follow the rules.
We questioned why they existed in the first place.
Not every tool deserves a place in your routine
Make the SwitchTRUSTED BY ARTISTS
MADE FOR YOU
What works in the hands of artists,
works for you.